Tag: wordpress for beginners


Getting Started on WordPress: Insert an Image

Inserting an image into WordPress is easy.

  1. Login to WordPress
  2. Navigate to the Page / Post you want to insert an image into
  3. Move your cursor to where you want the image to go.
    IMPORTANT: even if you’d like the image to go on the right, move the cursor to the far left of the page.
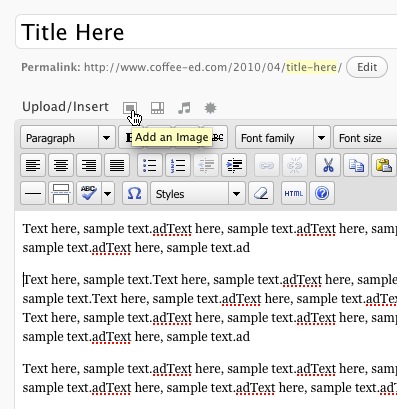
    Click add image icon
  4. Click the little rectangle to the right of “Upload/Insert” (see above)
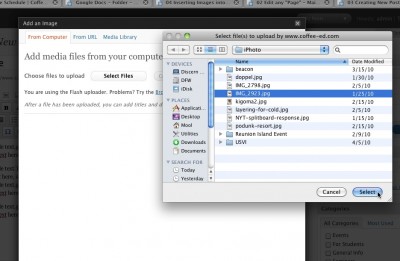
  5. Browse and upload file
    Browse and upload
  6. Scroll down to the bottom of the open window
  7. You can fine-tune how you want it to appear. In this case, a medium image, aligned to the right (See below)
  8. IMPORTANT: Click “Insert into Post” — otherwise it won’t appear:
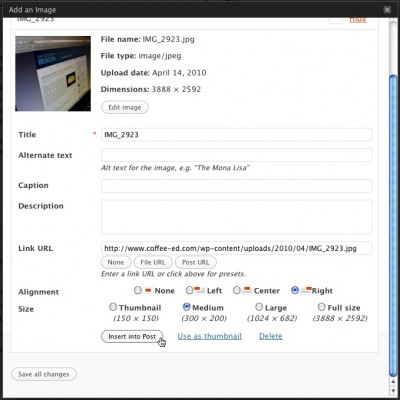
    Click Insert Into Post
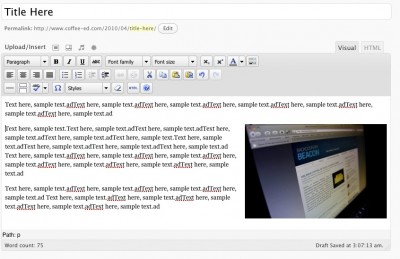
  9. The result:
    Your image

NOTE: if you don’t see your image, it is probably because you hit “Save Image” instead of “Insert Into Post”. To find the image, click on the upload box, then the “Gallery” tab. Click on your image and “Insert into Post”

Getting Started on WordPress: Make Your First Post

This quick tutorial will show you how to make your first post. You use this same method to edit Pages, or any custom post type. If you can use Microsoft Word, you can do this.

  1. Login to your WordPress Site: http://www.yoursite.com/wp-admin/
  2. Click “Posts” > “Add New”
  3. Insert content into the WYSIWYG box (Make sure the Visual tab is checked (in right corner of text box). Otherwise it will be an HTML editor.)
  4. You can preview changes by hitting the “Preview Changes” button in the upper right corner.
  5. If you want to work on the post later, click “Save Draft”
  6. When you’re ready to go live, click “Publish”

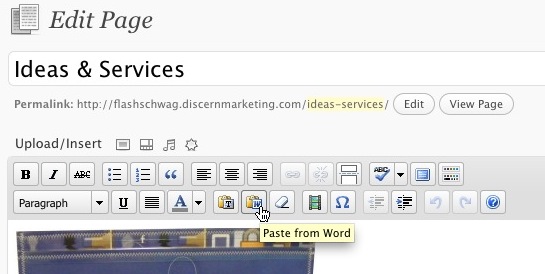
Tip: if you copy from Word, either paste into a simple text editor first, or use the “Paste from Word” icon. Word inserts some funky characters that can screw up your layout:

Use the paste from word icon